A Step-By-Step Guide to Installing Fascia Board and Soffit
The fascia board and soffit plays crucial role in protecting your home and roof from the elements, enhancing cur appeal, and providing proper ventilation for your attic. Whether you are replacing old and damaged fascia board and soffit or installing new one, this guide will walk you through the process of installing step by step.
What is Fascia Board and Soffit?
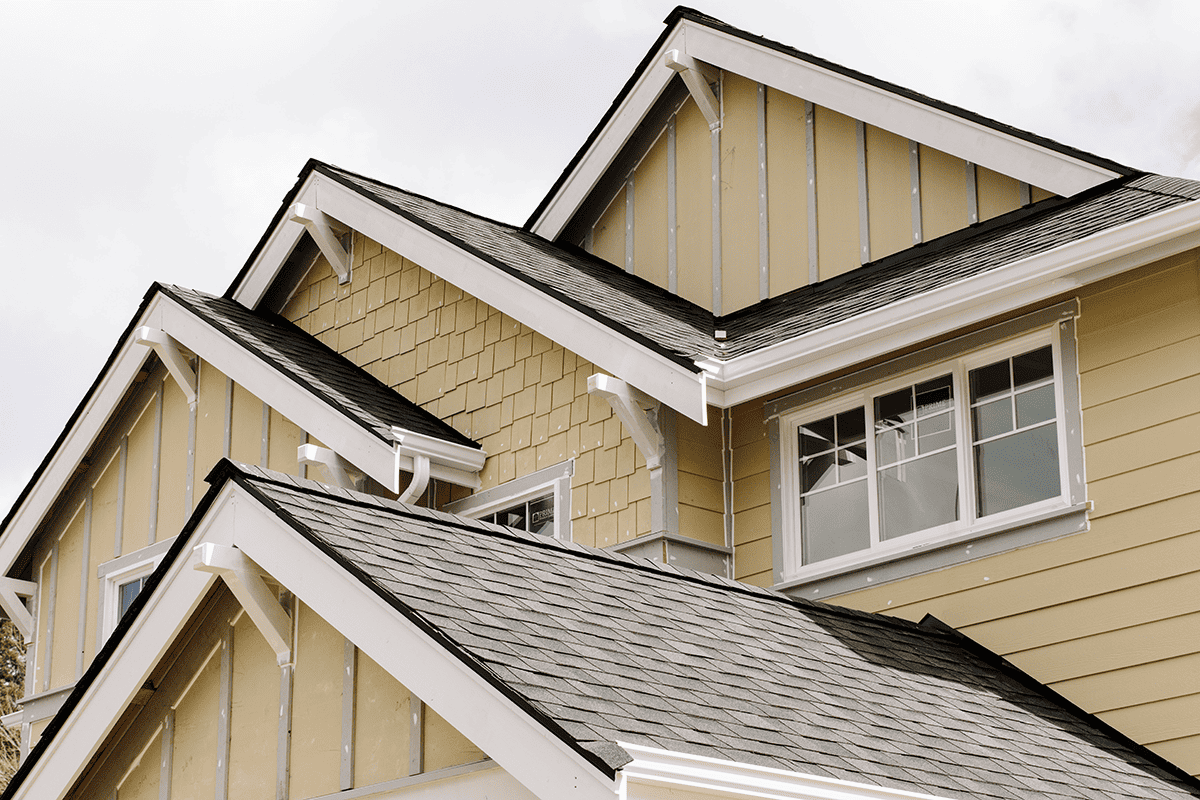
The portion of the roofline that goes along the roof’s edge is called a soffit, and it is crucial to the house’s security. Under your eaves, the soffit provides the last touch. The lower portion of the eave would be open and vulnerable to the weather if there were no soffits.
Fascia and your home’s soffit go hand in hand. The section of siding right above the soffit is called fascia. It’s the bare board that’s visible on the front overhang of your roof. Gutter placement is also done on your fascia. Because fascia is so noticeable, it must be maintained in good condition to maintain the curb appeal of your house.
For more information, you can read everything you need you know about soffit and fascia.
Why Fascia and Soffit Are Important?
Fascia and soffit are critical components of a roofing system. The fascia board supports the bottom row of roof tiles and holds the gutter system, preventing water damage to the home’s structure. The soffit, usually located beneath the fascia, provides ventilation to the attic, helping regulate temperature and moisture. Together, they protect your roof and walls from weather exposure, pests, and mold—preserving the structural integrity of your home.
What are the Materials and Tools That You Will Need While Installing the Fascia Board and Soffit?
Here’s the list of tools and materials that you will need,
- Fascia boards (PVC, wood, composite material, or aluminum)
- Soffit panels (vinyl, aluminum, or wood)
- Measuring tape
- Pry bar
- Miter saw or circular saw
- Drill and screws
- Nail gun (optional)
- Ladder or Scaffolding
- Chalk line
- Level
- Safety gears (gloves, goggles)
- F-Channel or J-Channel (for soffit installation)
How to Install the Fascia Board and Soffit?
Here are the steps that can lead you to install the fascia board and soffit very easily.
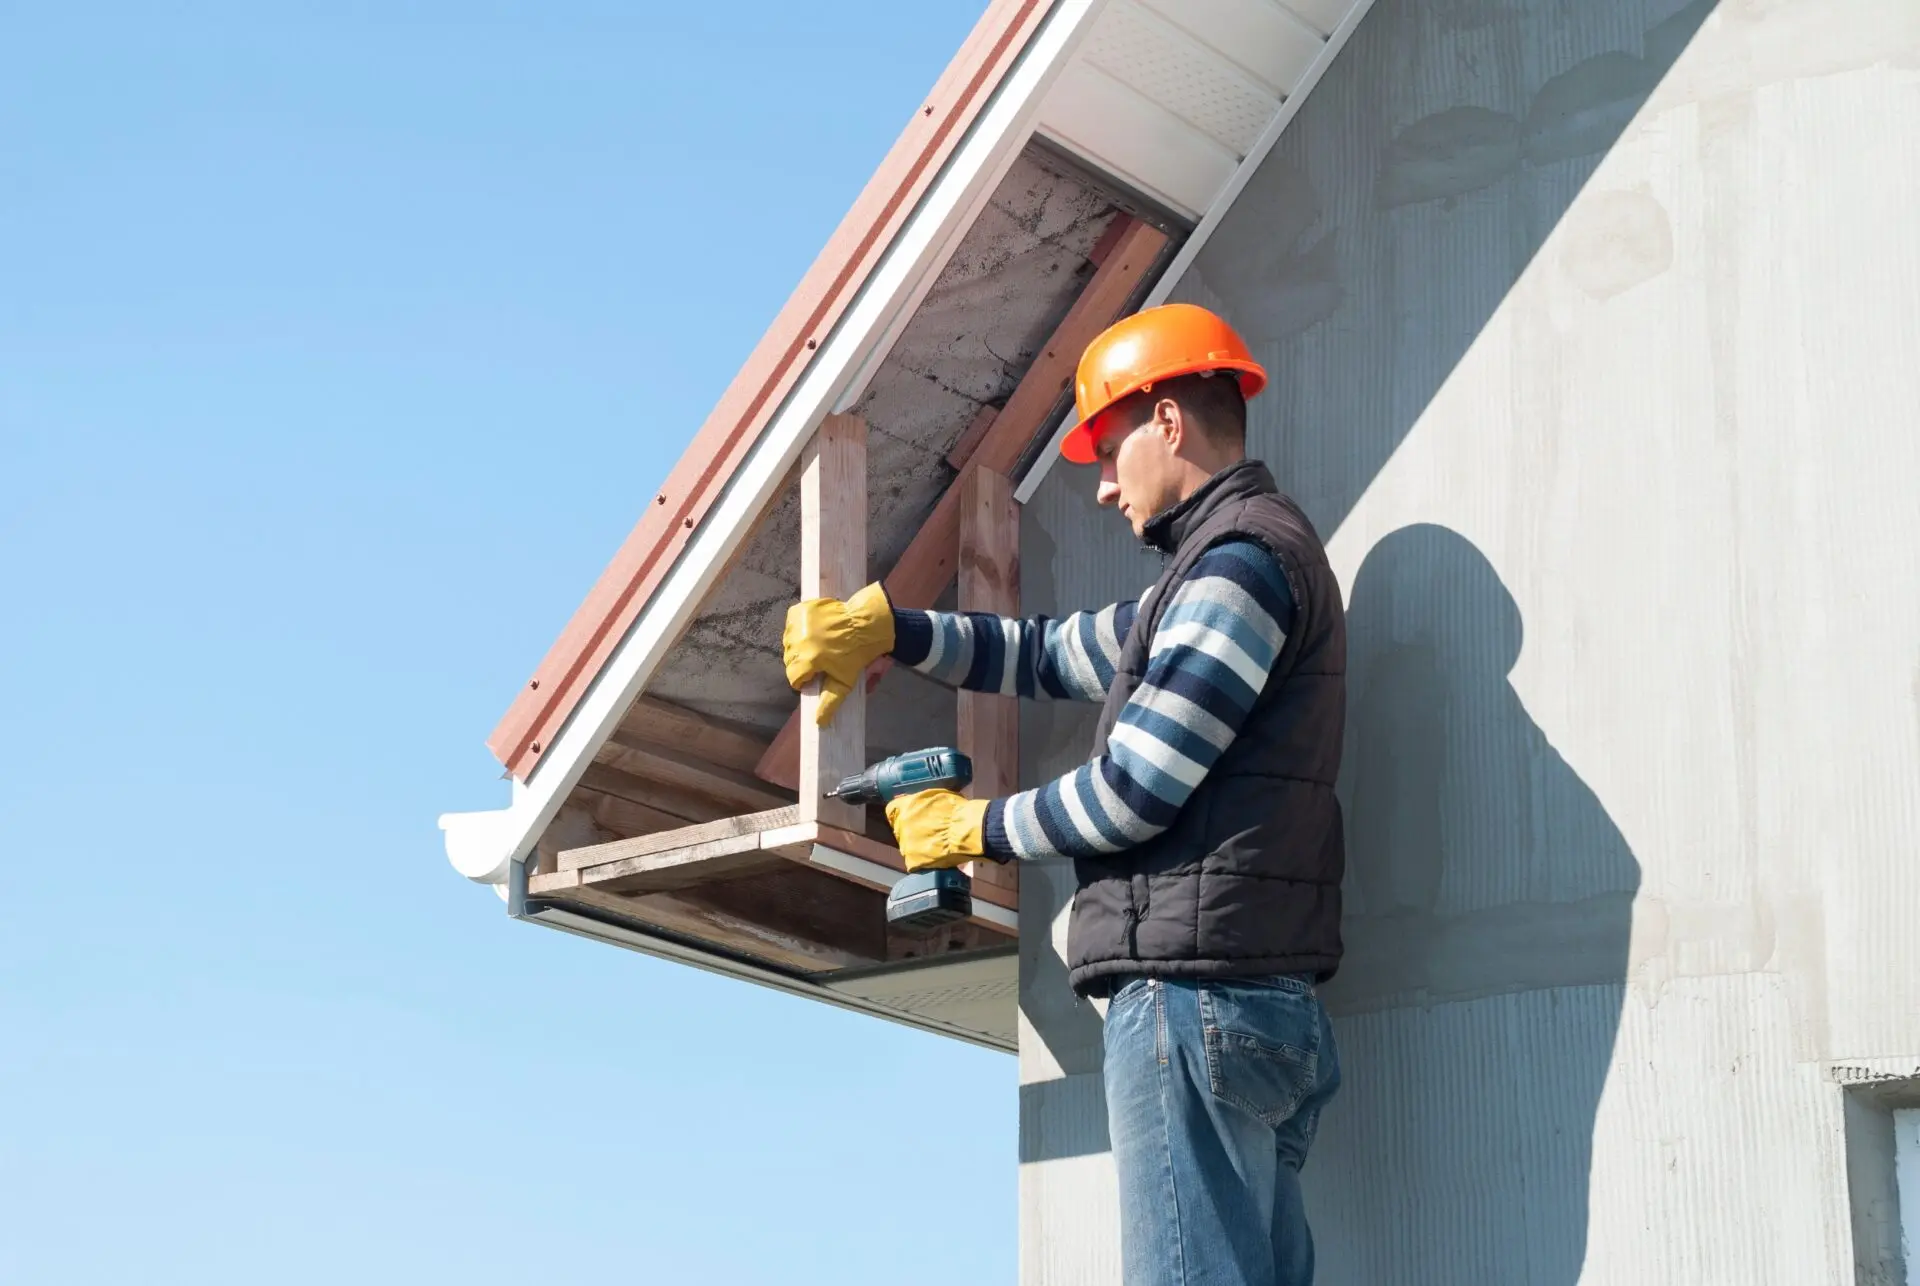
Step 1: Removing Old Fascia Board and Soffit (If Replacing)
Before installing a new fascia board and soffit you need you remove old and existing materials carefully.
- Old fascia boards and soffit panels can be removed with a pry bar.
- Look for any indications of decay or deterioration on the roof edges and rafters. As needed, make repairs.
- To guarantee a smooth surface for the new installation, clean the region.
Step 2: Installing the Fascia Board
Cut and Measure the Fascia Board:
- The length of the space where the fascia will be installed should be measured.
- Cut the fascia boards to size with a circular saw.
Put the Fascia Board in place:
- Place the fascia board up against the ends of the rafter.
- Make sure it is flat with the roof edge and fasten it using exterior-grade screws or galvanized nails.
Finishing and Sealing:
- Use weather-resistant paint or sealer if you’re utilizing wooden fascia to avoid moisture damage.
Step 3: Installing the Soffit
Set up the F-Channel or J-Channel.
- Attach J-channel or F-channel to the fascia board and external walls. The soffit panels are secured in place by these channels.
- Verify that they are level and firmly secured with screws or nails.
Cut and Measure Soffit Panels
- The distance between the wall and the fascia should be measured.
- Leave a tiny space for expansion when cutting the soffit panels (for vinyl or aluminum materials).
Put the Soffit Panels in Place
- Soffit panels can be slid into the F-channel or J-channel.
- Fasten them via the channel using screws or nails.
- Make sure the vented soffit is installed correctly for the best ventilation.
Step 4: Final Touches and Inspection Verify Alignment:
- Make sure all panels and boards are securely fastened and straight.
Seal and Paint (if necessary):
- For a completed appearance, caulk around joints and paint any exposed wood.
Verify Proper Ventilation:
- If you’re utilizing a vented soffit, be sure nothing is blocking the attic’s airflow.
Our Fascia and Soffit Installation Services in Waterloo, Ontario
We proudly serve homeowners throughout Waterloo, Ontario, offering high-quality fascia and soffit installation services tailored to your home’s needs. Our team brings years of experience and uses industry-approved techniques and materials to ensure both durability and aesthetics. Whether you’re replacing old structures or starting new, we’re here to enhance your roofline with expert craftsmanship.
Our Installation Process
Our process begins with a thorough inspection to assess your roofline and identify any damage. Next, we remove old materials and prepare the surface for installation. We then install or replace the fascia boards, followed by securely fitting the soffit panels. We finish by sealing joints, checking ventilation, and cleaning up the site—ensuring everything is weatherproof and ready to last for years.
Why Choose Us?
When you choose us, you’re getting more than installation—you’re getting peace of mind. Our team is fully licensed and insured, with years of hands-on experience. We prioritize quality workmanship, transparency, and customer satisfaction. We also offer warranties and detailed consultations to ensure you’re confident in every step of the project.
Service Areas
Pro Home Exteriors provides professional fascia and soffit installation services across Waterloo and the surrounding areas in Southern Ontario. If you’re located in or near Kitchener, Cambridge, Guelph, or the greater Waterloo Region, our team is ready to help. Not sure if we serve your location? Contact us and we’ll gladly let you know how we can assist.
How to maintain soffit and fascia boards?
To make sure that the soffit and fascia last long follow these maintenance tips,
- Inspect regularly for rot, cracks, or pest damage.
- Clean gutters regularly to prevent water from overflowing onto the fascia.
- Reseal or repaint the wooden fascia as needed.
- Make sure to clear soffit vents for proper attic ventilation.
FAQs About soffit and fascia in Waterloo, Canada
How long does fascia and soffit installation take?
The installation time depends on the size of your home and your experience level. For a standard single-story house, it typically takes a day or two to complete.
Can I install fascia and soffit myself, or should I hire a professional?
If you have basic carpentry skills and the right tools, you can install fascia and soffit yourself. However, if you’re unsure or working on a high roof, hiring a professional is recommended for safety and efficiency.
What type of material is best for fascia and soffit?
Vinyl and aluminum are popular choices for their durability and low maintenance. Wood offers a traditional look but requires regular upkeep to prevent rot and weather damage.
Final Thoughts:
Fascia board and soffit installation is a simple yet necessary activity that improves the longevity and aesthetics of your house. You may increase curb appeal, enhance ventilation, and safeguard your roof structure by following these procedures and utilizing high-quality materials.
We prefer professional help in installing soffit and fascia board contact Pro Home Exteriors for professional guidance and contract.